Build A Mechanical Keyboard Builder Instagram Account With An AI Character: A Step By Step Guide
FLB Studio
May 12, 20268 min read
This guide shows how to build an Instagram account focused on mechanical keyboard builds using Flying Bears Talent, with cross-posts to X for build threads. The face is one recurring AI character builder; the content is switch comparisons, build progress, keycap close-ups, and sound-test thumbnails. The example character is Ren, an alt-style man in his late twenties with sleeve tattoos, dark hair, and the focused workshop presence of someone who actually solders his own boards. By the end of the guide you will have Ren locked in, a wardrobe and workbench location set, a first build post with a real board as the product, and a one-session weekly cadence. You need a laptop, photos of two or three real boards or switch sets you own, and roughly two hours for the first run.
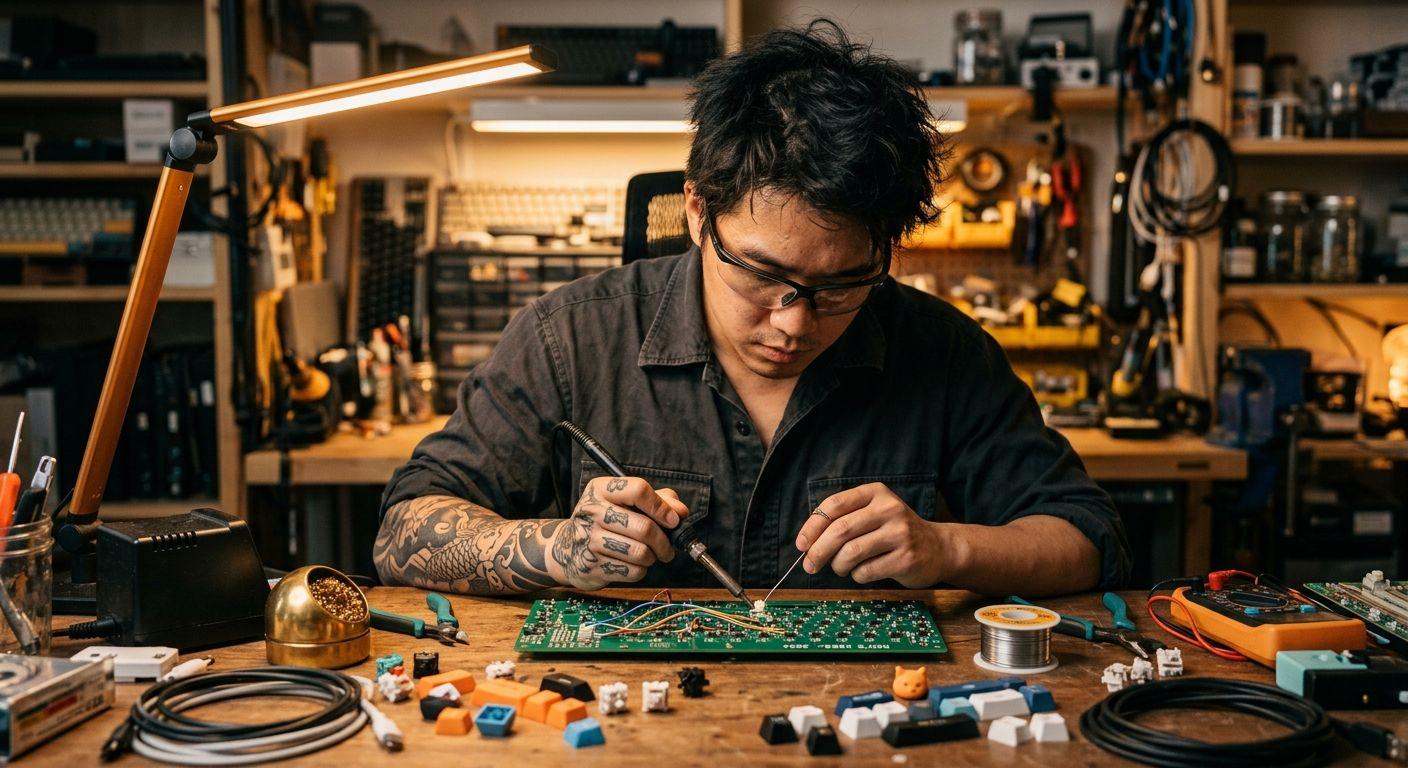
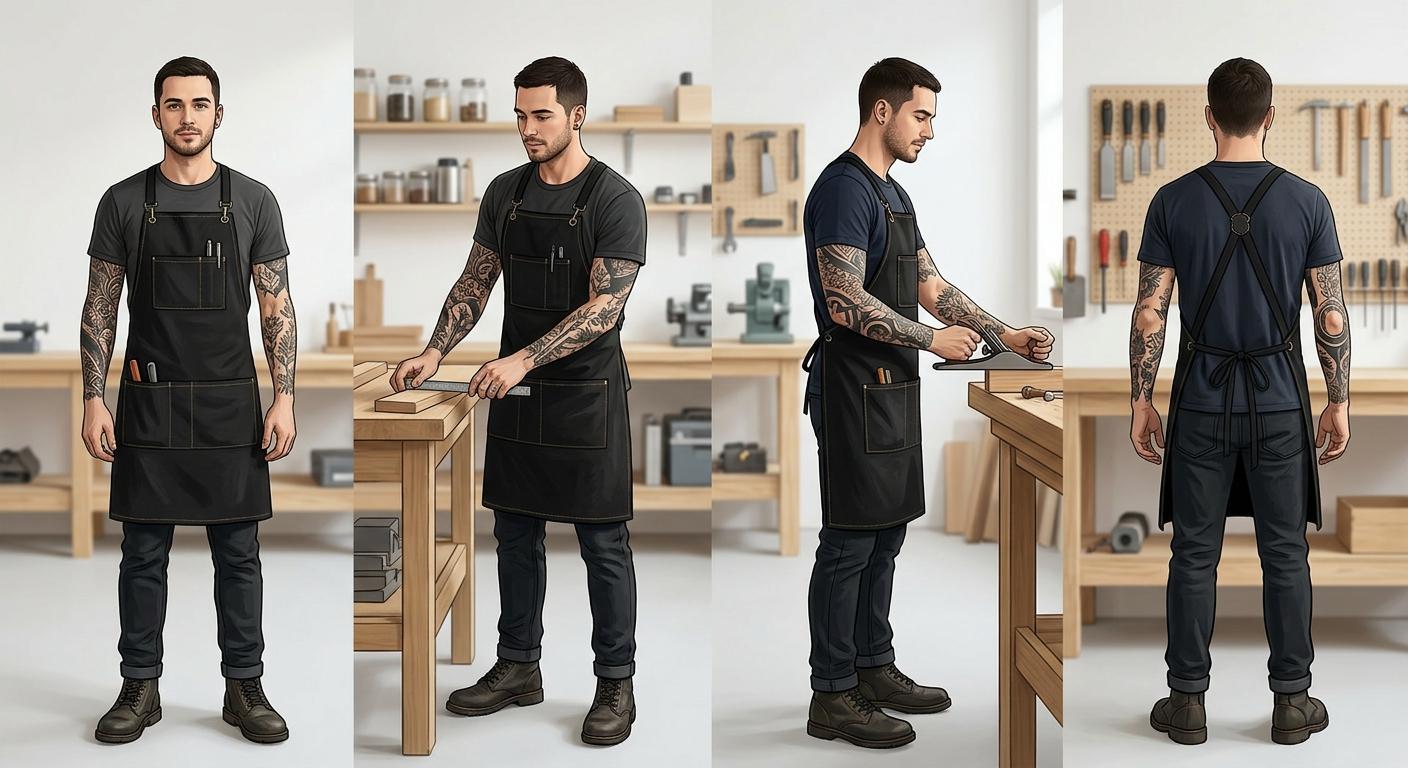
Step 1: Create the character. Open the new character form and enter the traits. For Ren: name "Ren", late twenties, heritage that fits your audience, vibe "focused, quietly intense, workshop-comfortable", style "black tees, oversized button-downs in dark colours, workshop apron, dark denim, visible sleeve tattoos". Add a note that the sleeve tattoos and a black workshop apron are the locked visual signatures. Save, then generate the four additional canonical poses. Check each pose: tattoos consistent in placement, apron present in working poses, age range steady. Regenerate any pose where the tattoos drift or the apron disappears. The reasoning behind a locked identity is on the Flying Bears Talent.AI landing page.
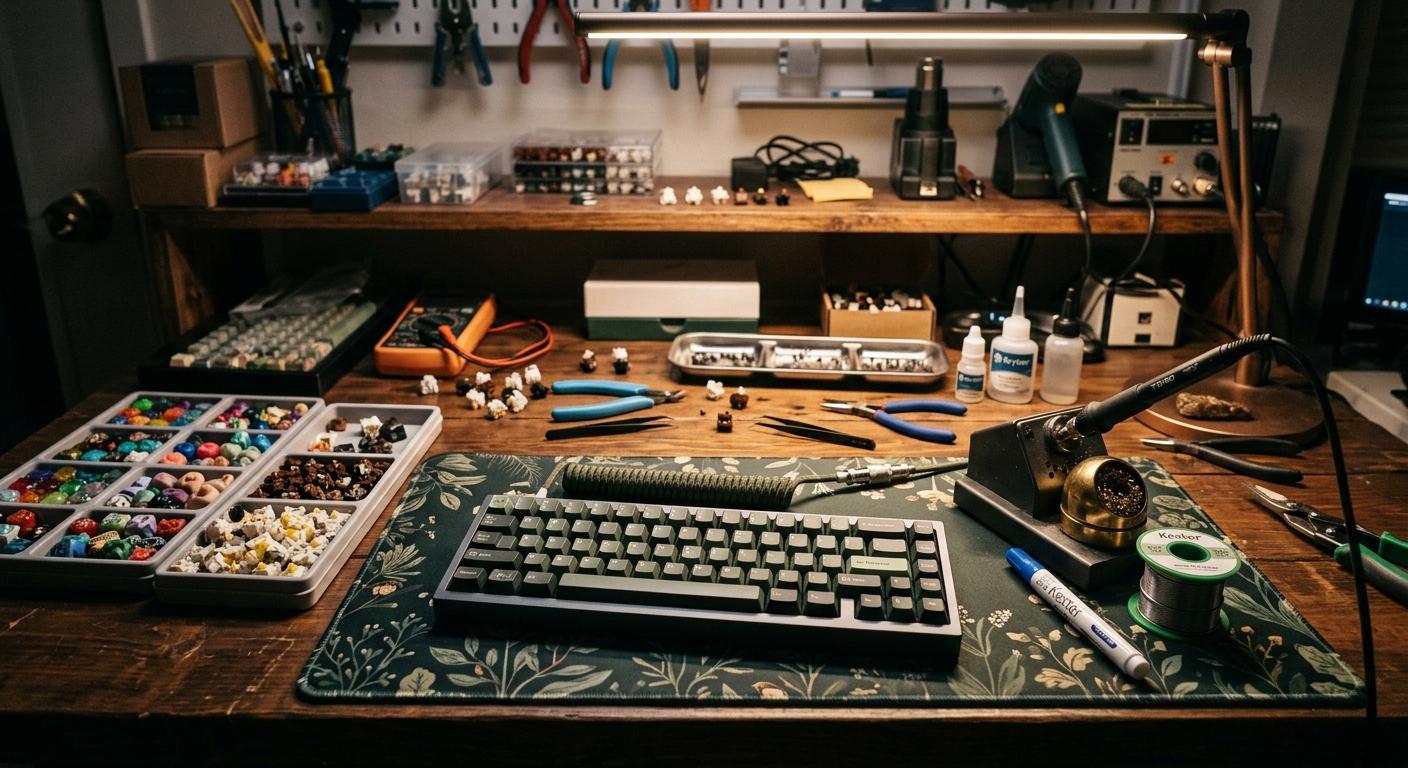
Step 2: Build the wardrobe and lock the location. In the wardrobe section, upload one photo per piece and tag the category. Start with five items: a black workshop apron (full outfit, signature), two black tees (top), one oversized charcoal button-down (top), and dark slim denim (bottom). For the location, use the location input in describe mode: "a cluttered workshop bench with a soldering iron on a stand, a switch tester, trays of keycaps and switches, coiled cables, a desk mat, warm task lighting from above, exposed bulb wall lamp". If you have a reference photo of a workspace you admire (with rights to use), upload it in upload mode. Enable grounding so the model pulls real-world workshop references for realistic clutter, not a sterile render.
Step 3: Generate the first build post with a real board as the product. Open the new post form. Attach Ren, select the workshop apron, and upload a product image: an overhead photo of an actual keyboard you have built or are building (case, plate, keycap set visible). The product image is what the model anchors on, so use the real board, not a render. Scene description: "Ren leans over the workbench inspecting the assembled board, soldering iron parked beside him, switch trays in frame, warm task light from above, shallow depth of field". Camera angle: high angle. Lighting: warm task lighting. Composition: rule of thirds. Aspect ratio: 4:5 for Instagram. Generate, then review: keycap legends correct (or believable for a fictional set), apron present, tattoos consistent, Ren recognisable. Tighten the scene description and regenerate if anything drifts.
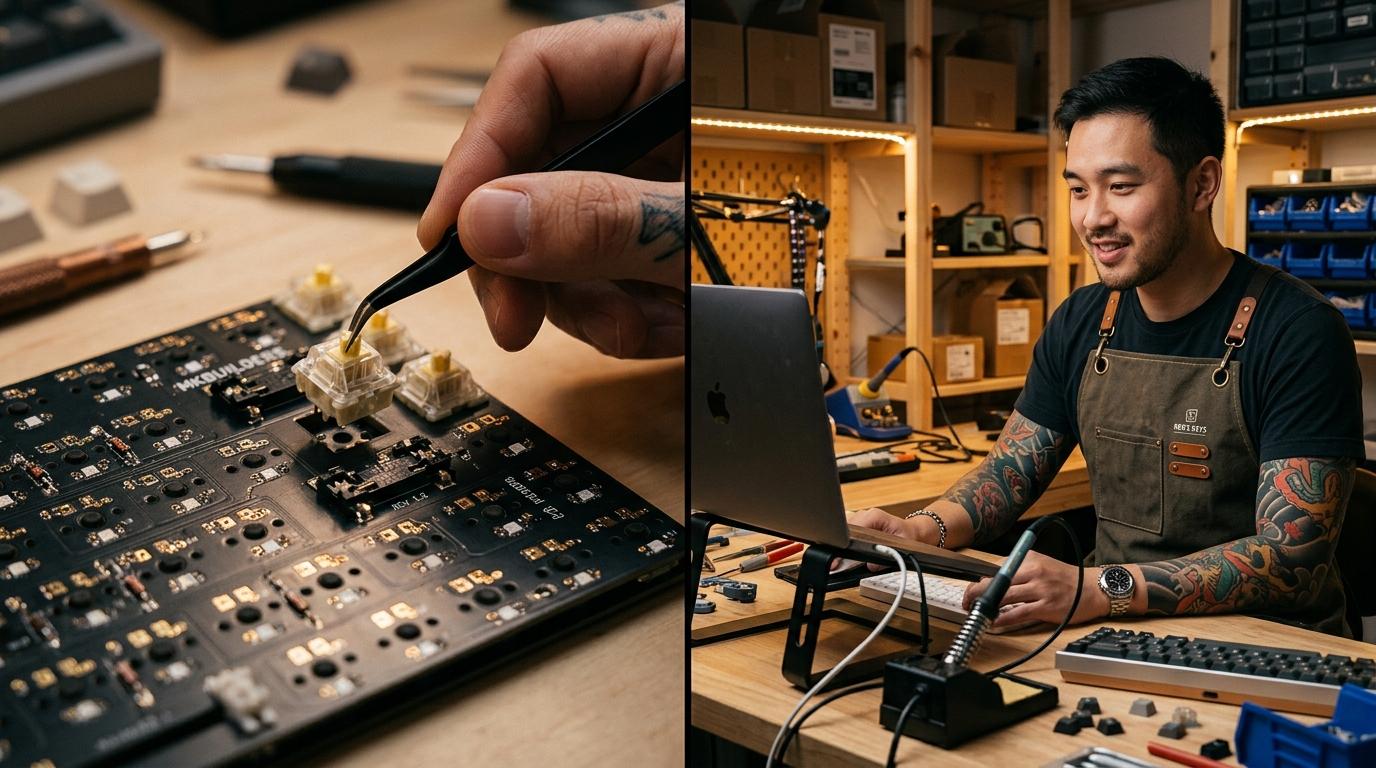
Step 4: Batch four build content types per session. Hold Ren and the apron constant, then rotate four recurring frames per build cycle. Frame one: overhead of the assembled board (1:1, top down, no character). Frame two: switch tray close-up with Ren's tattooed hand reaching in (4:5, high angle, shallow depth). Frame three: sound test setup hero (the board with a microphone on a boom, 16:9, medium shot, for X header or thumbnail). Frame four: build progress collage source images (4:5, medium shot of Ren working). Three to four images per build, two builds per month is realistic; in-between weeks run switch comparisons or keycap unboxings using the same frames. Before publishing, open the Instagram and X preview cards on each post. For captions, write the technical notes yourself (switches, lube, foam, plate material) and use auto-caption only for the lifestyle framing. The supported aspect ratios are on the FAQ page.
Step 5: Set a posting cadence and feed X with build threads. A realistic weekly rhythm is three Instagram posts plus one matching X thread: Monday (build progress carousel on Instagram, full build thread on X), Wednesday (switch comparison single image both platforms), Friday (keycap or finished-board hero shot, paired with X reply image). One batch session covers it. Always credit the case maker, plate material, switch brand, and keycap designer in the caption; the build community rewards specificity and punishes vague posts. When you are ready to add typing-test video or sound-test clips, our monthly plans and credit packs show which tier matches the video throughput.
The pattern is small and repeatable: one builder with locked signatures (tattoos plus black apron), one cluttered workbench, one real board or switch set per post as the product anchor, four recurring frames per build, batched weekly. Done consistently for a month, you will have a coherent Instagram feed of build progress plus parallel X threads that feel like they came from a real workshop run by a real builder. The character does not change, the workbench does not change, and the boards are always real and specced out. That is what separates a serious build account from an AI feed of generic dark-mode keyboard renders.